Getting your nails done at a salon is a treat—but it can also be expensive and time-consuming. The good news? You can achieve gorgeous, salon-style nails from the comfort of your own home with the right tools, techniques, and a little practice.
Whether you’re a beginner or just looking to up your at-home nail game, this step-by-step guide will walk you through everything you need to know. Let’s dive in!
Why Do Your Own Nails at Home?
Doing your own nails comes with a variety of benefits:
- Saves money in the long run.
- Convenient—you can do your nails anytime.
- Customizable—create unique designs that fit your mood or occasion.
- Therapeutic—nail care can be a relaxing self-care ritual.
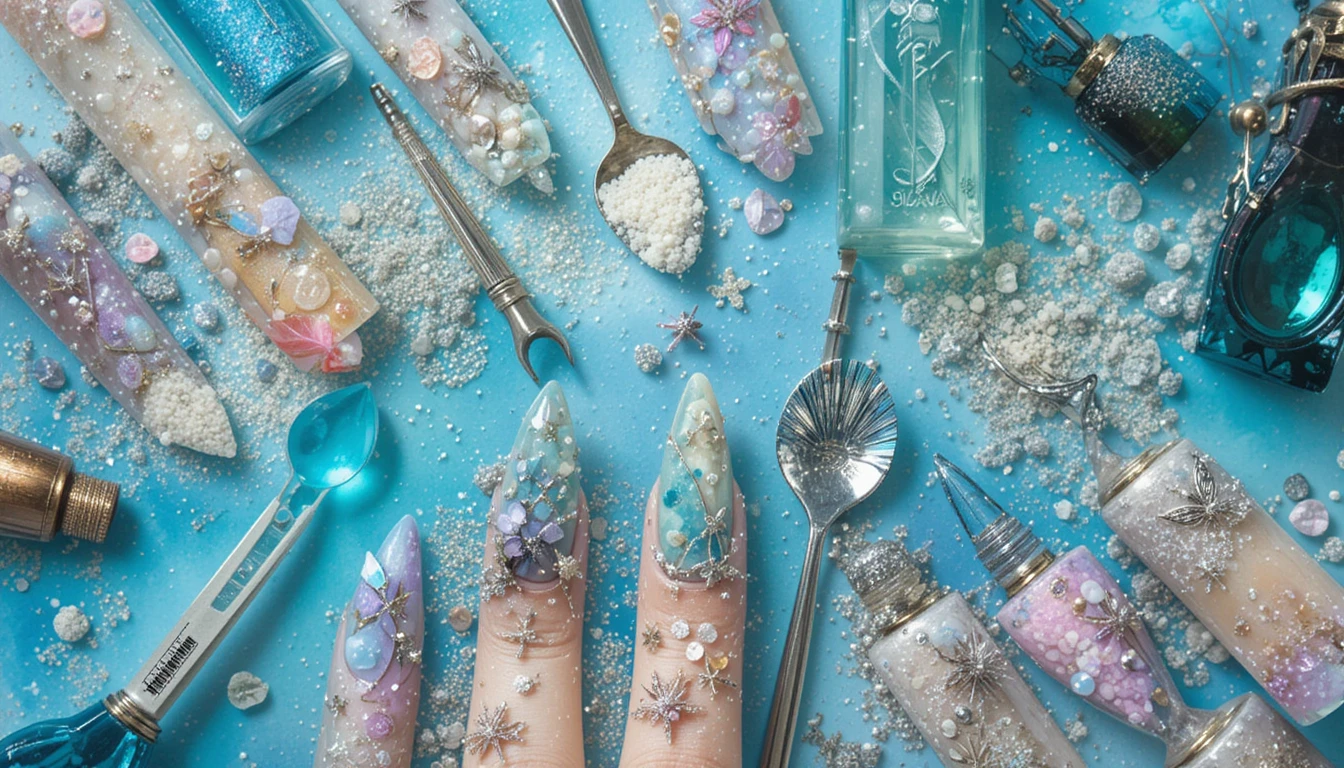
What You’ll Need
Before starting, gather your tools. A successful at-home nail session starts with the right products:
Basic Tools:
- Nail polish remover
- Cotton pads or balls
- Nail clipper
- Nail file and buffer
- Cuticle pusher
- Cuticle oil
- Base coat
- Your favorite nail polish
- Top coat
- Hand moisturizer
Optional (but helpful) Tools:
- Nail art brushes or dotting tools
- UV or LED lamp (for gel nails)
- Quick-dry spray or drops
Step 1: Remove Old Polish
Start with a clean slate by removing any old nail polish. Use an acetone-based remover for stubborn polish (especially glitter or gel nails) and non-acetone remover for regular polish to avoid drying out your nails.
Pro Tip: Soak a cotton pad in remover, place it on your nail, and wrap it with foil for 5–10 minutes to help lift off old gel polish.
Step 2: Trim, Shape, and Buff
Use a nail clipper to trim your nails to the desired length. Then, file them into your preferred shape: square, round, almond, or coffin. Always file in one direction to avoid splitting.
Buff the top of your nails gently to smooth ridges and create a clean surface for polish to stick to.
Step 3: Soak and Push Back Cuticles
Soak your hands in warm, soapy water for 5–10 minutes to soften the cuticles. Gently push them back with a cuticle pusher.
Avoid cutting your cuticles—they protect your nails from infection. Instead, keep them healthy by applying a nourishing cuticle oil afterward.
Step 4: Clean and Prep
Wipe each nail with a bit of nail polish remover to get rid of any oil or residue. This helps the polish stick better and last longer.
Step 5: Apply Base Coat
Never skip the base coat! It protects your nails from staining and gives the polish something to grip.
Apply a thin layer and let it dry completely before moving on.
Step 6: Paint Your Nails
Now for the fun part—color!
- Apply your first coat of polish in three strokes: one in the center, then one on each side.
- Let the first coat dry completely.
- Apply a second coat for a richer, more even finish.
Try not to overload the brush. Thin coats dry faster and look smoother.
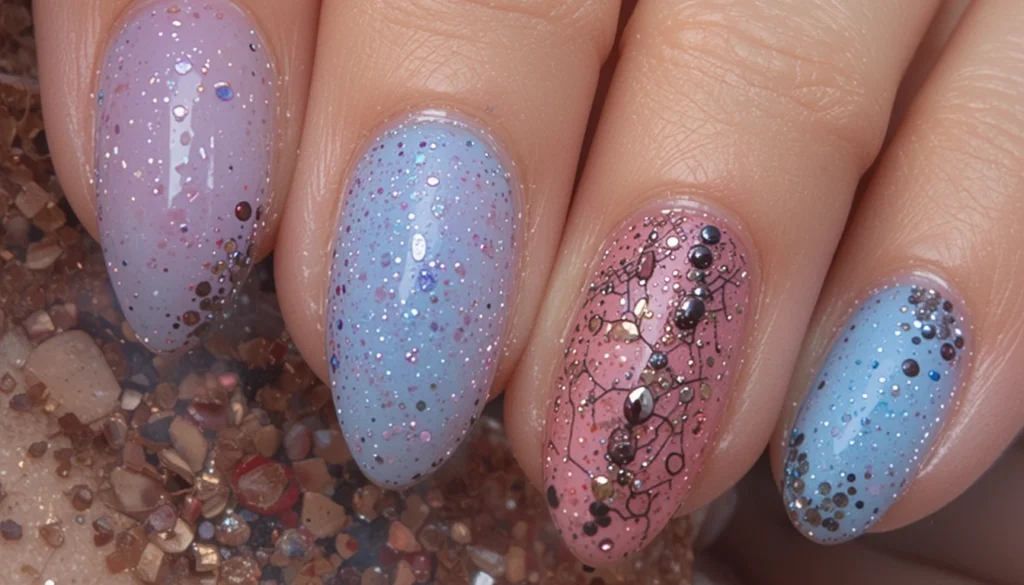
Step 7: Add Nail Art (Optional)
If you’re feeling creative, this is your moment. You can use:
- Dotting tools for polka dots
- Fine brushes for stripes or flowers
- Tape or stickers for clean lines or shapes
- Glitter polish for sparkle
Take your time and let each layer dry before adding the next.
Step 8: Apply Top Coat
A top coat seals in your polish and gives your nails that salon-like shine. It also prevents chipping and helps your manicure last longer.
Be sure to cover the tips of your nails too—this is where chipping usually starts.
Step 9: Clean Up the Edges
Dip a small brush or cotton swab in nail polish remover and clean around the edges for a neat finish.
Don’t rush this step—clean edges make your nails look professionally done.
Step 10: Let It Dry
Patience is key. Let your nails dry fully to avoid smudges. You can use a quick-dry spray or drops to speed up the process.
Pro Tip: Avoid using your hands for at least 20–30 minutes after polishing.
Step 11: Moisturize
Finish your at-home nail spa with a hydrating hand cream and a little extra cuticle oil.
Keeping your hands and nails moisturized not only feels great but also keeps them looking healthy and polished.
Bonus Tips for Long-Lasting Nails
- Always use gloves when doing household chores.
- Reapply top coat every 2–3 days to refresh the shine.
- Avoid picking or peeling polish—this can damage your nails.
- Keep nails and cuticles moisturized daily.
When to Consider Gel or Press-On Nails
If you’re looking for a longer-lasting option, try:
- Gel nails: Use a UV lamp and gel polish for up to 2–3 weeks of chip-free shine.
- Press-on nails: Pre-painted, easy to apply, and reusable—perfect for events or a quick glam upgrade.
Final Thoughts
Doing your nails at home doesn’t have to be intimidating. With the right steps, tools, and a little practice, you can create salon-worthy results without ever leaving your house.
So put on your favorite playlist, pour a cup of tea, and turn your living room into your personal nail salon. Your hands—and wallet—will thank you!